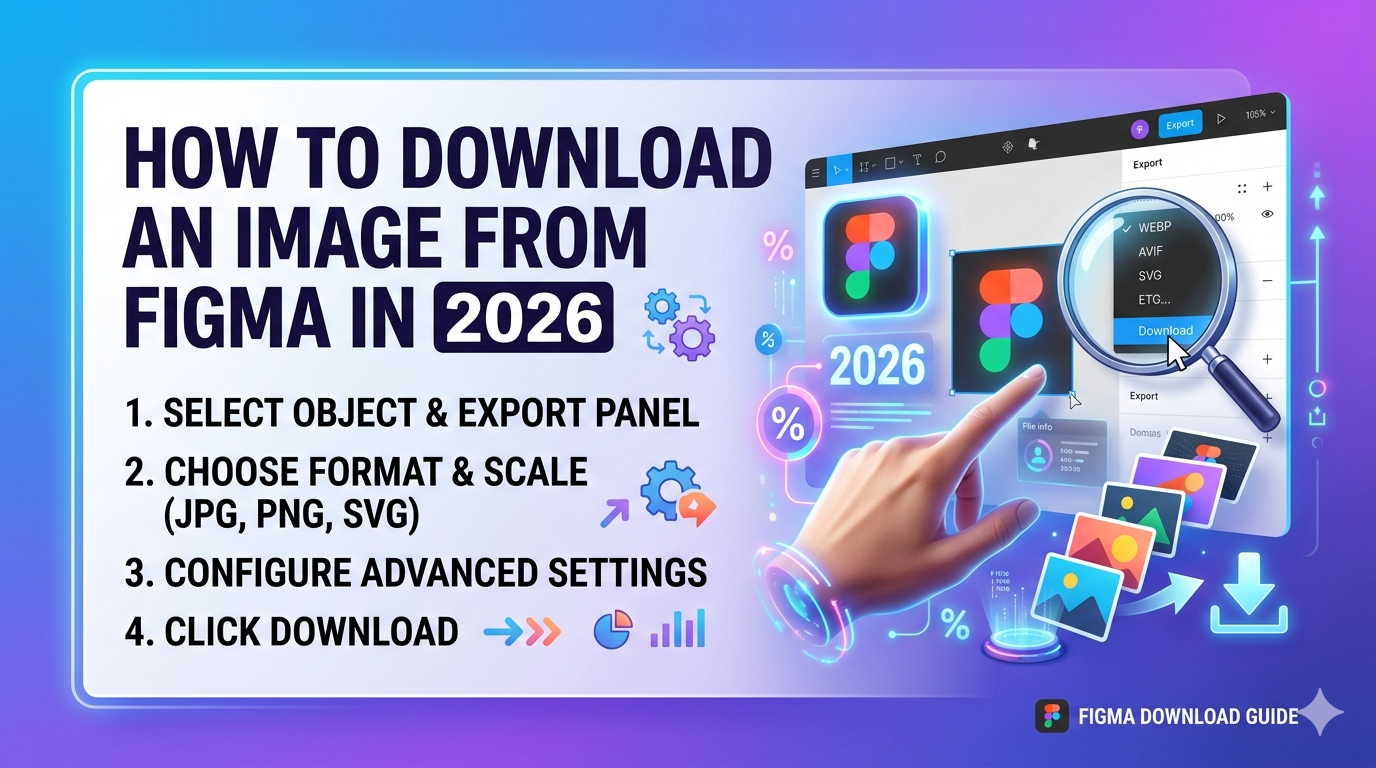
How to Download an Image from Figma – Figma has become one of the most powerful and widely used design tools in the world. Whether you’re a UI/UX designer, developer, student, or content creator, chances are you’ve worked with Figma at some point. But one common question that many beginners (and even experienced users) ask is:
“How do I actually download an image from Figma?”
Unlike traditional software like Photoshop or Illustrator, Figma doesn’t use a simple “Save As” feature. Instead, it uses an Export system that gives you complete control over how your image is downloaded—format, resolution, and quality included.
In this detailed guide, you’ll learn step-by-step how to download images from Figma, along with expert tips, common mistakes, and best practices to ensure you always get high-quality results.
What is Figma?
Figma is a cloud-based UI/UX design tool used by designers, developers, and teams to create interfaces, prototypes, and graphics.
Unlike traditional design software, everything in Figma is stored online, which means:
- No manual saving required
- Easy collaboration in real-time
- Access from any device
Because of this cloud-based system, downloading images requires using the Export feature instead of a normal save option.
How to Download an Image from Figma (Step-by-Step)
Let’s go through the exact 5-step process.
Step 1: Log in to Figma
Start by opening Figma in your browser or desktop app.
- Sign in using your account
- If you’re new, create a free account
- Once logged in, you’ll land on the dashboard
👉 This is where all your design files are stored.
Step 2: Open or Create a Design File
Now you need a design file to work with.
- Click “New Design File”
- Or open an existing project
- Make sure you’re inside a Design file (not FigJam)
📌 Design files are used for:
- UI/UX design
- Images
- Layouts and graphics
Step 3: Select the Image (or Use Slice Tool)
Once your design is ready:
- Click on the image or frame you want to download
- If you want only a part of the design:
- Use the Slice Tool (Shortcut: S)
- Drag to select the exact area
👉 Figma allows exporting:
- Full frames
- Individual elements
- Specific cropped sections
Step 4: Export the Image
Now comes the most important step.
- Look at the right sidebar
- Scroll down to find the Export section
- Click the “+” icon (if needed)
- Choose format:
- PNG
- JPG
- SVG
👉 Then click “Export [Layer Name]”
Figma will open a download prompt and save the file to your system.
Step 5: Download the Entire Design (Optional)
If you want more than just one image:
- Export the entire frame instead of a single element
- Or go to:
- File → Save local copy (.fig file)
This is useful when:
- You want backup
- You need the full project later
👉 Figma automatically stores everything in the cloud, so exporting is only needed for local use.
Pro Tips for Better Image Exports
- Use 2x or 3x scale for high-quality images
- Export icons as SVG for best clarity
- Use PNG for transparent backgrounds
- Select multiple elements to export them together
Common Mistakes to Avoid
- ❌ Not selecting the layer before exporting
- ❌ Ignoring export settings (format & scale)
- ❌ Using low resolution (1x for large screens)
- ❌ Trying to “save” instead of exporting
Conclusion
Downloading an image from Figma is simple once you understand the workflow. Instead of a traditional save option, Figma uses an Export system that gives you full control over format, size, and quality.
By following these 5 easy steps, you can:
- Export any image or design
- Download high-quality assets
- Work more efficiently in your design process
Once you practice it a couple of times, it becomes second nature.
Want to Learn UI/UX + AI? Start Here
 If you’re curious, I highly recommend checking out the UI/UX courses by Kaashiv Infotech. They offer hands-on training, real-world projects, and even AI integration in the curriculum.
 Visit: www.kaashivinfotech.com