Mobile
How to Backup Your iPhone, iPad, iPod touch via iTunes or iCloud
If you lose or damage your iPhone, iPad, or iPod touch, you do not want to be losing all of your data. believe all of the photographs , videos, messages, passwords, and other files on your smartphone. If you lose or damage one device, you’ll find yourself losing a big chunk of your life. There’s one easy and effective thanks to make sure that you never lose data — backups.
Fortunately, on iOS, backups are very easy and most of the people won’t got to pay anything to try to to this. There are two ways to backup your data — iTunes, and iCloud. This guide will walk you thru both methods of backing up your data.
How to backup iPhone via iCloud
If you do not have a PC or a Mac, backing abreast of iCloud could also be your best choice . The free tier on iCloud offers just 5GB of space for storing which might mean you will need to distribute alittle sum of Rs. 75 (or $1) per month for 50GB of iCloud storage, that ought to be sufficient for iCloud backups and other purposes like storing your photos using the iCloud Photo Library.
Follow these steps to make sure that your iPhone, iPad, or iPod touch is protected regularly on iCloud.
- On your iOS 10 device, open Settings > tap your name right at the highest > iCloud > iCloud Backup.
- Tap the button next to iCloud Backup to show it on. If it’s green, backups are on.
- Tap Backup Now if you would like to manually initiate a backup.
This will backup important data like accounts, documents, Health data, etc. Backups will happen automatically when your iOS device is locked, being charged, and connected to a Wi-Fi network.
iCloud backups are preferred because they happen automatically, without you wanting to do anything, which ensures that your backups are up so far .
When you check in to a different iOS device with this iCloud account, you will be asked whether you would like to revive from a backup.
How to backup iPhone via iTunes
Backing up your iPhone, iPad, or iPod Touch via iTunes may be a better option in some ways — it’s free, it allows you to backup purchased apps also (so you do not need to reinstall apps if you turn to a replacement iOS device), and doesn’t require Internet. However, it also means you will have to plug-in your iOS device to a PC or a Mac and install iTunes if it isn’t there already. you’ll also got to plug-in your phone to the present computer whenever you would like to copy the device, unless you’ve got a computer that’s on all the time and connected to an equivalent Wi-Fi as your phone (read on for details).
Follow these steps to backup your iOS device via iTunes:
- Connect your iPhone, iPad, or iPod Touch to your PC or Mac.
- Open iTunes on the PC or Mac (it might launch automatically when the iPhone is connected).
- If you employ a passcode on your iOS device, unlock it.
- You may see a prompt asking whether you would like to trust this computer. Tap Trust.
- On iTunes, a small icon showing your iOS device will appear within the top bar. Click it.
- Under Backups, click This computer.
- Click copy Now. Now iTunes will begin backing up your iOS device.
- Once the method is finished, you’ll check for backups by getting to iTunes > Preferences > Devices on your Mac. Preferences is under the Edit menu in iTunes for Windows.
You can select the Automatically sync when the iPhone is connected option for iTunes to launch automatically and backup your iPhone when it’s connected to the present computer.
You can also use the Sync with this iPhone over Wi-Fi to possess iTunes backup your phone wirelessly, but you’ll got to confirm that the pc and iTunes are running for this feature to figure . With this feature on, your iPhone will attempt to backup to the present computer using iTunes when it’s charging and connected to an equivalent Wi-Fi network because the computer. this is often convenient if it isn’t possible for you to always plug-in your iPhone to your computer.
To restore from an iTunes backup, you’ll got to connect the iPhone/ iPad/ iPod touch to an equivalent computer.
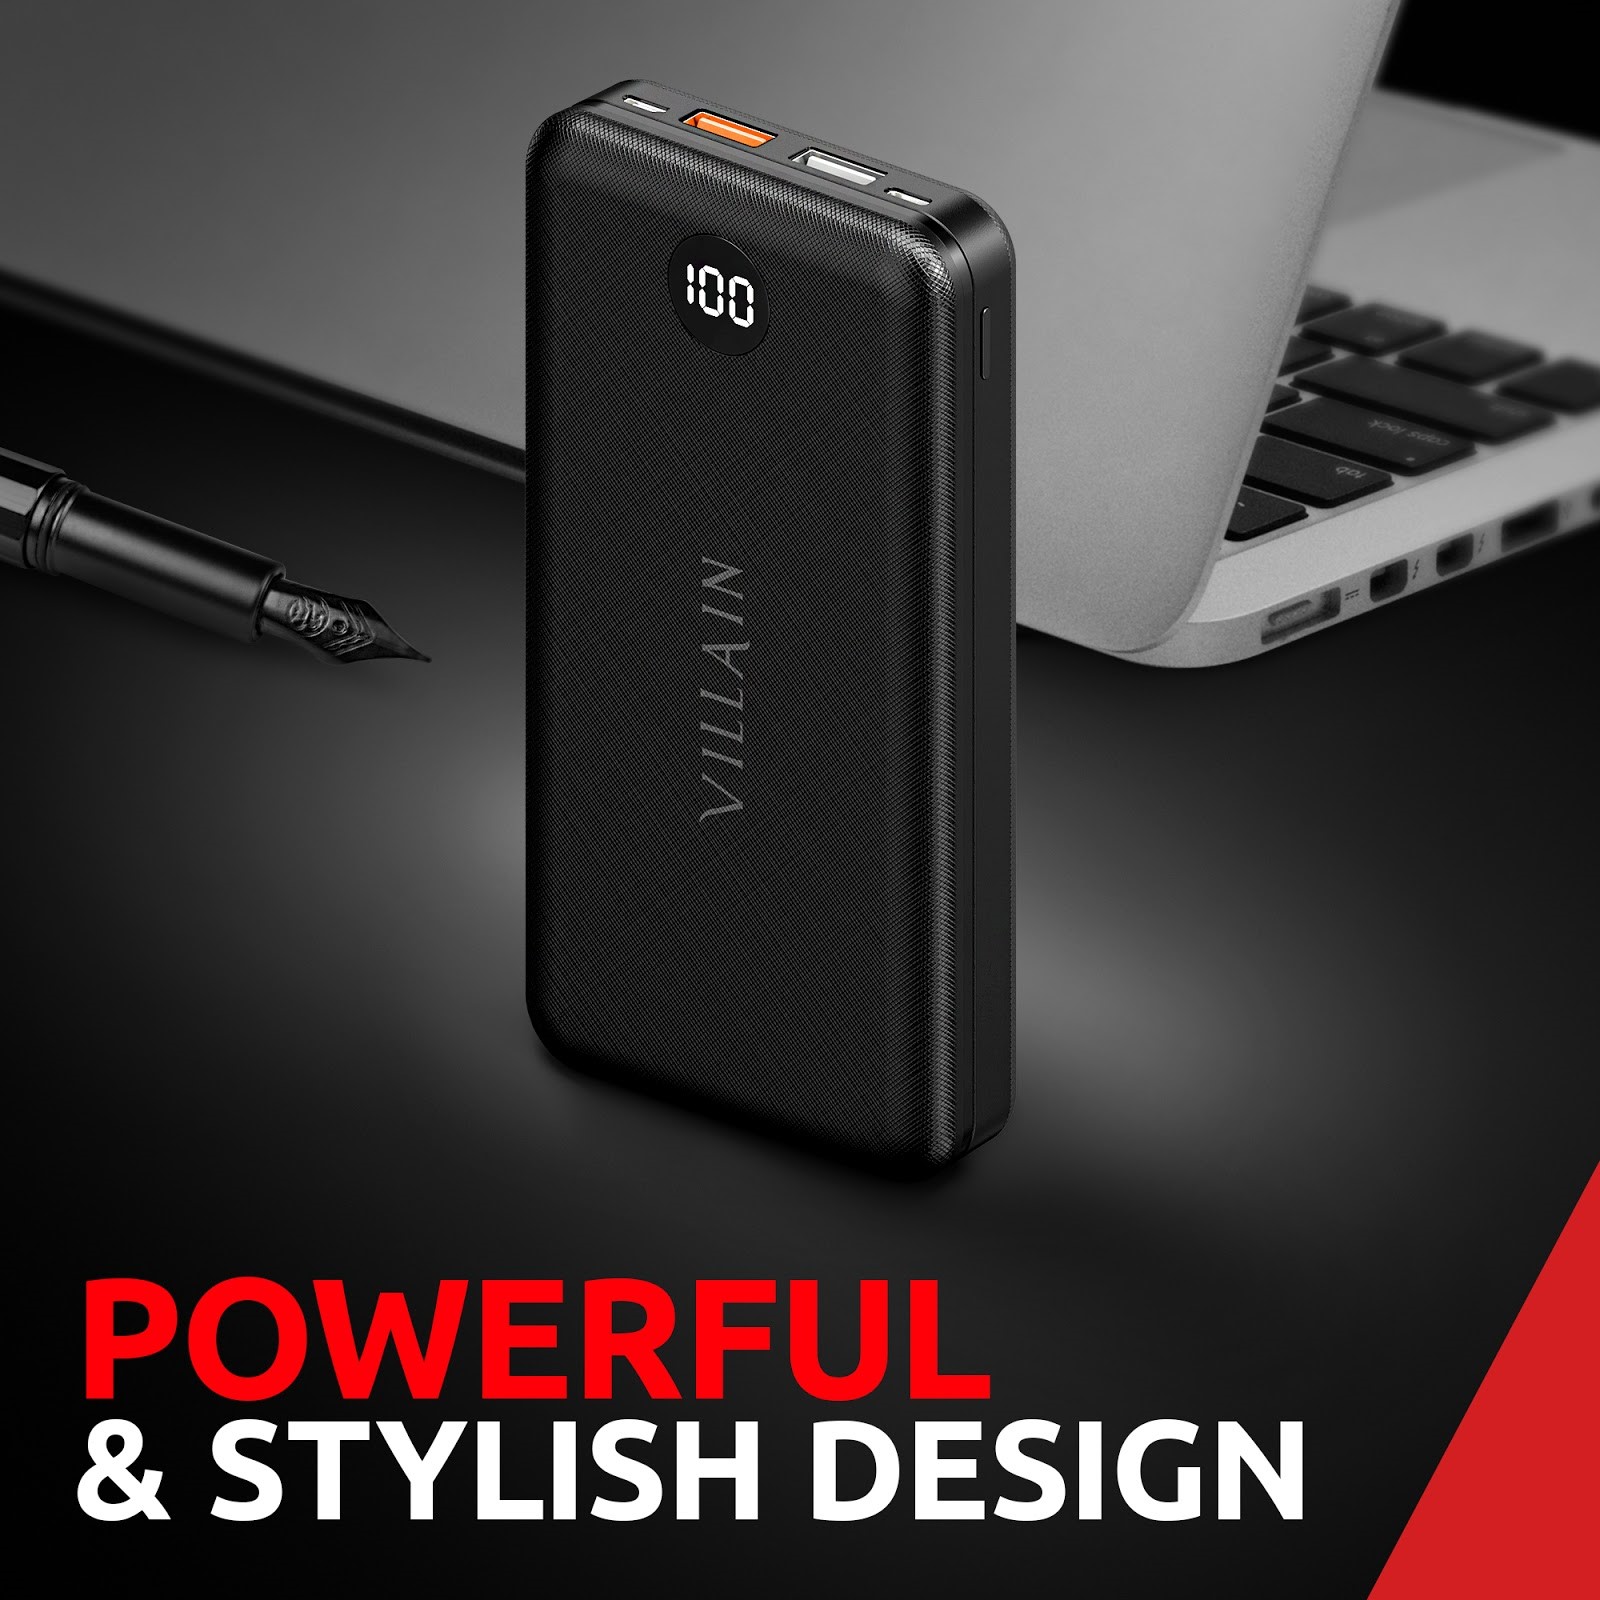
Every iPhone user knows for sure how important is to have your cell phone charged. You probably buy portable phone charger all the time. For some reason, they rarely last long. The reason for it is simple. It is hard to find the best portable battery charger of good quality for a fair price. If it’s a problem for you, too, VillainElectronics got a solution right now. You can use this website to buy portable charger, which is a portable charger 20000mah.
You might wonder why you should trust VillainElectronics with such an important device. Here are four main reasons why VillainElectronics never disappoints its customers.
1-Year Warranty
We know how many people rely on always being in touch at any time and in any place. That’s why they need a reliable power bank. With every purchase of a portable power bank, you get a 1-year warranty. It is our way to prove to you that our devices are of the highest quality. Our portable power banks can charge your phone or other gadgets for up to 20 hours. They will not disappoint you even at a very important moment. You can be sure of that.
Around-The-Clock Customer Support
VillainElectronics has the best customer support team. Our representatives are always there for you to help with issues. We are ready to assist you at any time. All you need to do is to choose a way to contact us that fits the best for you. Our job is to offer you great solutions fast and easy. And we are really good at doing our job.
Compatibility With Devices of Any Type and Brand
We have really good news for those who are always on the go. Our portable charger is compatible with any kind of cell phones, tablets, laptops, and other kids of chargeable gadgets. It means that you don’t have to carry multiple power banks with you. You can just have one with impressively long-lasting battery life. So, you can have a portable charger right in your bag ready to use.
Affordable Price
Last but not the least advantage of using VillainElectronics is the price. Of course, it’s what you are looking for: a long-lasting USB battery charger for your mobile phone or laptop that wouldn’t empty your pocket. You got it! When we offer you a portable charger, we address the perfect combination of cheap and high quality. You might agree that it’s not common for other online electronics stores. Here at VillainElectronics, our main objective is to provide only the best electronic products for a customer-friendly price.
From college students to CEOs of big companies, everyone uses portable power banks on a daily basis. It’s because we all need two simple things. The first one is to keep in touch with other people. And the second one is to be connected to the Internet. With a portable charger from VillainElectronics, you can have both of those things whenever and wherever you go.
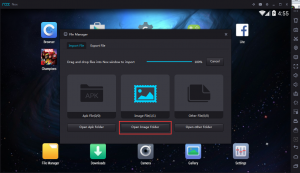
There’s a lot of reasons why somebody would need to introduce an Android Emulator on their PC. It’s possible that you’re a developer attempting to try out some new applications. An Android emulator is also suitable if a gamer needs to play at bingo not blocked by Gamstop on the big screen. There are Android games like Arena of Valor and Mobile Legends which could profit by an emulator. It is easy to play such games with mouse and keyboard controls. Basically any shooter game that you play on your phone will be a lot simpler with the mouse aim. The best part about gaming on PC is you never need to stress over your mobile overheating or low battery. In the end, you get considerable extra memory on your PC contrasted with the internal memory of a phone.
The most effortless approach to play Android games on PC is by using an emulator. Present-day emulators offer different features. These features are hardware acceleration, adjustable resolution, high FPS & controller support. What’s more, some of them even can run many instances of apps at a time. The most recent versions of the top emulators tend to support Android Nougat version 7.1.2. It lets you record directly from your mic and webcam. We tried these Android emulators: LDPlayer & Nox Player one by one and will explain them in a while. Each of them ran fine, in spite of the fact that LDPlayer will in general perform better on most frameworks. Settle on your choice depending on how the UI feels, and which list of features suit you the most. Recall that all Android emulators have their one of a kind benefits and flaws.
About each one of them has a great capability with the most recent update of Windows 10 (we tried on variant 1903). If you don’t have Windows 10, no need to stress out since every one of these emulators should work fine on Windows 7 and 8. It is fine if you pick an emulator that keeps getting updated by its developers. That’s so you can play the most recent version of your preferred games with no hiccups. There are a few emulators that haven’t got any new updates from some time. But, since they haven’t had an update doesn’t mean they can’t run your games. Perhaps you incline toward the UI and list of features of an older emulator. This is because you can verify whether it can run your games. And in case you’re an app developer, go with something that fulfills your needs and demands.
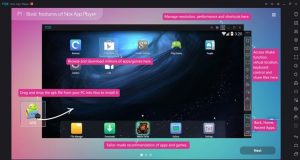
LDPlayer:
LDPlayer is a blazing fast Android emulator. LDPlayer is a free Android emulator for PC planned for mobile gamers. With the help of Virtualization technology, the developers have launched 2 Android kernels. And those 2 kernels are Android Lollipop 5.1 and Android Nougat 7.1. So you will discover LDPlayer 3 which is running Android 5.1. And the other one is LDPlayer 4 which is running Android 7.1 on their official site.
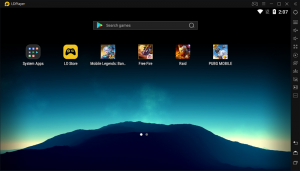
LDPlayer can use the virtualization technology in advanced PCs and processors. It helps you get the best of Android OS in your PC without stressing over battery life or anything else. LDPlayer helps you get rid of the limitations of your phone by running games on Android.
LDPlayer is a product of a Chinese software company. The developers have some expertise in virtualization technology and the Android framework. They have launched LDPlayer worldwide so that everybody can use apps and games on their PCs. LD Store and Google Play are accessible to use as play store. You can also side-load the applications or games with the help of individual APK files. It is very easy to drag-n-drop the APK file on the LDPlayer window and it will install the app.
It supports multitasking features (you can play many apps at the same time). This feature is very valuable if you need to experience an Android-style multitask on your PC.
LDPlayer has a high FPS mode which is superior to Nox Player. There is even a Vsync choice to avoid screen tearing if you have a beefy framework able to do high framerates. It includes gamepad support and accompanies the LD Store which is the same as Google Play. You get all your preferred games on the LD Store, yet you don’t need to sign in like you typically would with Google Play.
You can use your keyboard and mouse for everything in LDPlayer. You can use them to run apps like the internet browsers or for game-play on your enormous screen PC. LDPlayer also lets you attach your gamepad or joystick with your work area PC. After this, you can switch LDPlayer to full-screen mode and play the games on your amazing PC.
LDPlayer is an amazing software for playing Android games on your desktop. It offers a drag-n-drop APK installation. It also provides full help for virtualization technology. You will experience the ease and quick response when running games or apps on LDPlayer. These best function settings make it the best emulator for FREE FIRE.
Nox Player:
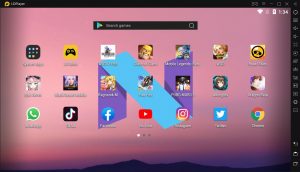
If you are in search of an Android Emulator for Windows than NOX is the one you should also consider. This emulator comes with plenty of features for a good user experience. If you are looking for an Android Emulator that can fulfill your other needs as well then pick NOX. NOX comes with a plethora of features. Game-play optimizations, controller compatible, and easy layout are a list of its features. These are some of the things where Nox Player scores more than BluStacks. NOX yet doesn’t outsmart LDPlayer because the key features are the same. Some of the key features are key-mapping with your keyboard, actual controller support. Nox Player also has the ability to key-map gesture controls.

For example, you can assign the function to swipe right to an arrow key and use it later on. You can use that in a game without genuine equipment controller support. It’s a great deal of fun and appears to work most of the time. It’s additionally completely free and ongoing development.
It depends on Android Lollipop 5.1.1. But you can run various Android versions up to Nougat using its Multi-Drive option. One factor where Nox Player outnumbers BluStacks features is to get root access. If at any point you’ve tried rooting BluStacks, you’d realize that it is anything but an easy task. In any case, on Nox Player, you need to empower a switch in the settings, and you’re done rooting. That is how straightforward Nox Player is for you.
Nox Player supports loading and installing several other apps. But there appears to be a problem when you try and install other applications in Nox Player. Nox Player needs to get the bug fixed.
Nox Player supports a built-in keyboard and mouse, and it even works with gamepads. It supports gamepads like the Xbox 360 controller. But there seems to be a problem while setting it up on PUBG Mobile. Nox Player is not game-specific. But there seems to be a problem adjusting with some games. This is not a favorable condition for a professional gamer. We hope the next update won’t involve these minor bugs.
Nox gives you a stock variant of Android. Keeping in mind that it was built for gamers, you can add different apps from the Google Play Store. Nox is free to access. Yet it consists of great extras accessible from a vertical toolbar on the right side of the window.
Nox Player seems to support every Android game out there. Despite the fact that it lags when compared to LDPlayer. You will have to enable VT on your CPU to take full advantage of this emulator. Nox Player claims to be in compliance with the GDPR. This implies they are less likely to sell your information. But we did notice that the emulator would hurl an irregular ad for sponsored content. Not super annoying yet it affects users’ attention. When you first boot up Nox Player, it will be running an occurrence of Android 5. Yet you can go into the settings and make another one that runs Android Nougat.
Conclusion:
You can download these Android emulators for gaming from their official websites. Mainstream games like PUBG Mobile, Clash of Clans, and Free Fire on PC can run with an emulator. One final thing to recall is that you need a powerful PC to control these emulators to get a smooth game-play.
LDPlayer is the best Android emulator that you can install on your Windows PC. It provides plenty of customization features and functions.
Every user owns a different kind of system. It is fruitful for every person to prefer the emulator which fulfills their needs. So far the comparison between LDPlayer and Nox Player shows that you should pick the former. LDPlayer as well as lets its user run multiple apps at the same time. It also encourages users to expect speedy functioning. Running many apps in different windows doesn’t slow down the working. And that is the reason why you would always see people prefer LDPlayer over any other emulator.
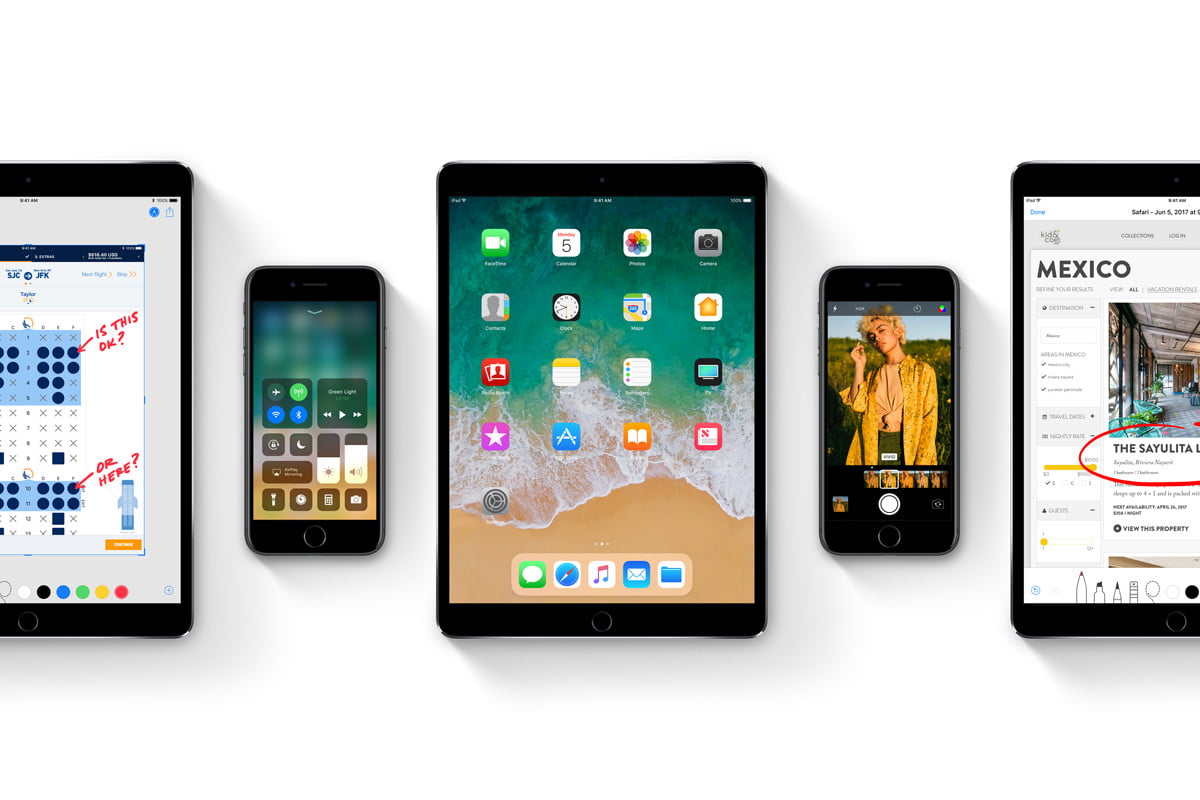
iOS 11 is now available for eligible iPhone, iPad, and iPod touch models, with the update hitting Apple devices released as far back as 2013. New iOS 11 features include Siri’s new translation feature, the animated emojis for iPhone X, a redesigned Control Centre, peer-to-peer Apple Pay, portrait lightning on iPhone 8 Plus and iPhone X (in beta), front-facing portrait mode, improvements in screenshot capturing, and more.
Before you update, of course, make certain to copy all of your data because you don’t want to lose your precious photos, messages, or documents. Here’s how you’ll download iOS 11 on your iPhone, iPad, or iPod touch.
Will I get the iOS 11 update?
Do you have any of the following iOS devices? If the answer is yes, then you can download iOS 11.
iPhone 7
iPhone 7 Plus
iPhone 6s
iPhone 6s Plus
iPhone 6
iPhone 6 Plus
iPhone SE
iPhone 5s
12.9-inch iPad Pro (2017)
12.9-inch iPad Pro (2016)
10.5-inch iPad Pro
9.7-inch iPad Pro
iPad Air 2
iPad Air
iPad (2017)
iPad mini 4
iPad mini 3
iPad mini 2
iPod touch 6th generation
iOS 11 download size
The size of the iOS 11 update will vary from one device to the opposite .
How to download and install iOS 11
The easiest thanks to download and install iOS 11 is via the Settings app on your iOS device. As long as you’ve got a Wi-Fi connection, you’ll follow these steps. confirm you copy your device before you proceed
Follow these steps to download and install iOS 11:
- Head over to Settings > General > Software Update. Your device will check for updates then show you the available iOS 11 upgrade.
- Hit Download and Install.
- Now it’ll begin downloading iOS 11. this will take a short time especially if you’ve got a slow Internet connection. Once the download is completed , tap Install.
- Tap Agree once you see Apple’s Terms and Conditions.
- Your iOS device will restart and iOS 11 are going to be installed.
While this is often the recommended method to put in iOS 11, it’d not work for a few , like those that don’t have a Wi-Fi connection or those that don’t have enough free space on their device. If that’s the case, there’s another method for you.
How to download and install iOS 11 via iTunes
As long as you’ve got a PC or a Mac that’s connected to the web , you’ll easily update your iPhone, iPad, or iPod touch to iOS 11. copy your device before you proceed and follow these steps:
- Download iTunes and install it, if it’s not there on your computer.
- Launch iTunes.
- Use the charging cable to attach your iPhone, iPad, or iPod touch to your PC or Mac.
- Now check the highest bar in iTunes. You’ll see alittle icon that represents your iOS device. Click that icon.
- Click the Summary tab.
- Click Check for update.
- Click Download and update.
From here on, the on-screen instructions are simple enough to guide you thru installing iOS 11 on your iPhone, iPad or iPod touch.

Pokémon GO Hack Guide: How to Join Mega Mewtwo Y Raids Without Traveling

How to Change GPS Location on iPhone Without Jailbreak

MetaTrader 4 or 5: Which Trading Platform Is Right for You?

Why Modern Web Applications Are Moving Beyond Basic Dashboards
YouTube Offline: What Is It, and How to Save and Watch a Video Offline?

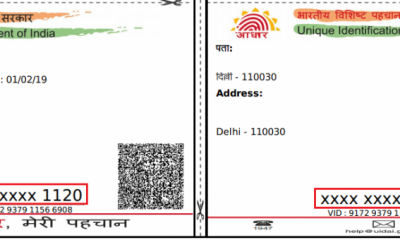
How to Download a Copy of Your Aadhaar Card

How to Book an Ola or Uber Using Google Maps

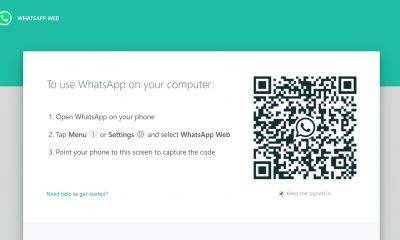
WhatsApp Web: Everything You Need to Know

The Surge of Mobile Betting Apps in India

In-depth Review of Parimatch: A Top Choice for Indian Punters
-
 Internet6 years ago
How to Download a Copy of Your Aadhaar Card
-
 Apps6 years ago
How to Book an Ola or Uber Using Google Maps
-
 How to6 years ago
WhatsApp Web: Everything You Need to Know
-
 Betting2 years ago
The Surge of Mobile Betting Apps in India
-
 Casino2 years ago
In-depth Review of Parimatch: A Top Choice for Indian Punters
-
 Apps6 years ago
How to Install WhatsApp Beta for Windows Mobile or Windows Phone
-
Sports4 years ago
10Cric India Bookmaker Review for Betting on Sports Online in 2022
-
Android Games6 years ago
LDPlayer vs Nox Player: Powerful Android Emulator for Gaming