Tips
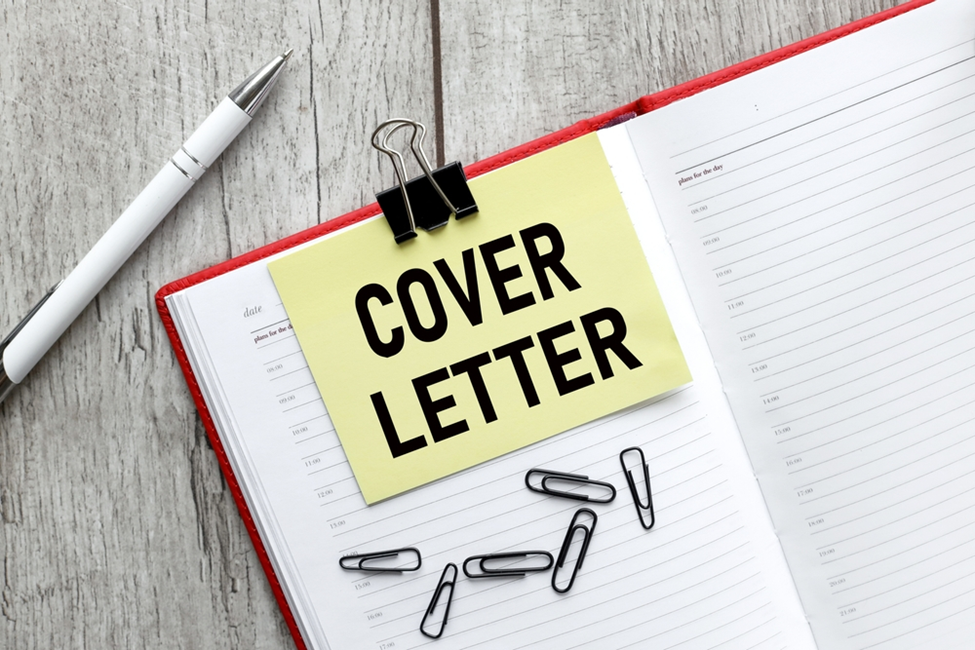
Tips for Crafting an Effective Internship Cover Letter
You are planning to join a role as an intern and don’t know how to craft an impressive internship cover letter, right? Well, writing such a letter isn’t a child’s play. There are several things you need to consider to ensure your cover letter receives proper attention, increasing your chances of being shortlisted for the interview.
Bearing this in mind, we have put together some useful tips that may be of help to you in writing the best cover letter for your new internship position. Keep reading and don’t skip any part to know the maximum.
Useful Tips for Writing a Compelling Cover Letter for an Internship Position
If you are living under the impression that writing a cover letter is no different from writing a simple application, you are wrong.
A cover letter is a letter usually submitted along with a resume. It is written by individuals who wish to apply for a specific job in a company. It highlights the candidate’s work experience, skills, and how they can prove beneficial for the vacant role.
Each word and sentence of your cover letter matters. One wrong line can deprive you of the internship role you wish to continue. So, take it seriously and pay attention to the following tips:
Study The Role Thoroughly
Before you apply anywhere as an intern, it’s important to gather all the information about the role. It will help you write your cover letter accordingly. It will also go a long way toward removing any doubts you may have about the role.
If you don’t have enough information about the role or company you’re planning to join, you can consider asking those who’ve worked or are working there, browsing the company’s online links that may include social profiles, tapping into your social circle for the best recommendation, etc.
It will give you the real image of the role you are planning to start. The recruiters will be impressed that you’ve researched the role quite thoroughly. So, they will consider shortlisting you as the potential candidate for the vacant internship role.
Pay Attention To The Structure
You should be well aware of the format normally used for internship cover letters. Always remember presentation matters a lot. When your cover letter is a bunch of lengthy text, chances are high that it won’t bring you any fruitful results.
A good cover letter should have:
- A solid opening paragraph highlighting how you can prove useful for the role
- Body paragraphs (which can be 2 or 3 in number) with proper subheadings to make it readers friendly
- Bullets (optional) to highlight the important information
- 1-inch margin space from all sides, providing a uniform look
- Closing paragraph to briefly state why they should consider for the vacant job. You may also thank the recruiter for their valuable time and attention.
- Call to action to politely encourage them to contact you for more discussions.
Plus, always start your cover letter with a proper salutation (dear xyz..) and end with ‘’Sincerely,’’ or ‘’Yours Faithfully.’’ This will give your cover the proper formal shape to grab the recruiters’ attention.
If it feels like a daunting task, an AI cover letter generator can offer assistance. It will quickly provide you with the right structure for your cover letter. Since such tools employ AI and are trained on big data sets, they always have the best outputs matching your requirements.
Use The Right Tone And Keep It Concise
Your writing tone should be appropriate and formal. Stay away from using unnecessary wording or information that recruiters may find irrelevant. It will negatively impact your likelihood of being shortlisted for the interview.
There is no need to use out-of-the-world vocabulary and weird sentence structure. If you think the recruiter will be impressed by this, you are wrong. People, including recruiters, like to read text that is easy to read and conveys its message in the best possible wording.
Mention only what recruiters would love to read. There’s no room for surplus information such as dedicating most of your letter to discussing your hobbies or academic qualifications. Always remember that no one is interested in knowing you as a person; instead, they would like to know what you can do for them.
Highlight Your Plus Points
Refrain from discussing your weak points. You need to persuade the hiring managers to consider you as a passionate candidate who’s willing to face any challenges down the road. Your cover letter shouldn’t have any sentences like ‘’Although I don’t meet the criteria, I will do my level best.’’
Incorporating such sentences might ruin all your efforts. Talk only about your strengths and what you can do to add value to the company you wish to join. This will help keep the recruiter’s interest intact till the last line of your cover letter.
Proofread Your Letter
Before you submit the letter, be sure to read it multiple times to spot any areas for improvement. It includes looking for potential grammar mistakes and checking the letter overall. If any part of the letter seems weird or lacks the key information, make the required edits so it looks professional and appealing.
Conclusion
There are several things you need to keep in mind when crafting an internship cover letter. We have discussed some useful tips that can prove helpful. You should study the role thoroughly, use the right structure, highlight your plus points, and proofread the final version to look for any areas for improvement. Paying attention to these points can help you write an effective internship cover letter.

Want to change your Gmail name but don’t want to go through the hassle of setting up a new email account? You’re in luck! In this guide, we’ll walk you through the simple process of updating your Gmail name without needing to create a new address. Let’s dive in!
Why Change Your Gmail Name?
Before we get into the steps, you might be wondering why you’d want to change your Gmail name. Your Gmail name is what appears on outgoing emails, and it’s how people recognize you. Whether you’ve gotten married, changed your name, or just want to refresh your email identity, updating your Gmail name can help you present a consistent and professional image in your communications.
Easy Steps to Change Your Gmail Name
Here’s how you can change your Gmail name without creating a new email address:
- Sign In to Your Gmail Account: Start by logging into your Gmail account using your current email and password.
- Go to Your Account Settings: Once you’re logged in, click the gear icon in the top right corner of the screen, and select “Settings” from the dropdown menu.
- Find the “Accounts and Import” Tab: In the settings menu, click on the “Accounts and Import” tab to access your account settings.
- Click on “Edit Info”: Scroll down to the “Send mail as” section and click on “Edit info” next to your email address.
- Update Your Name: A pop-up window will appear with a field for your name. Enter your new name and click “Save Changes.”
- Verify Your Changes: Gmail will ask you to verify your changes by sending a confirmation email to your inbox. Just follow the instructions in that email to confirm the update.
- Confirm Your New Name: After you verify, your new Gmail name will be updated for all outgoing emails.
Tips for Changing Your Gmail Name
- Choose a Recognizable Name: Make sure your new name reflects your professional identity and is easy for others to recognize.
- Check for Spelling Errors: Double-check your new name for any mistakes before confirming the changes.
- Be Mindful of Limits: Keep in mind that you can only change your Gmail name a limited number of times, so choose wisely.
Conclusion
By following these easy steps, you can quickly change your Gmail name without needing to create a new email address. Whether for personal or professional reasons, this process is seamless and helps maintain continuity in your email communications.

In today’s fast-paced digital landscape, mastering special character input can significantly boost productivity, particularly for developers, writers, and symbol-heavy professions.
What are Alt Codes?
Windows Alt codes enable you to type a wide range of characters by holding down the ALT key, entering a numeric sequence, and releasing the key. This feature is especially useful for:
- European language alphabets
- ASCII symbols
- Chinese characters
- Other non-standard keyboard characters
Fun Characters
- ☺ (Alt 1) through ▼ (Alt 31): Includes smiley faces, arrows, and musical notes.
Uppercase & Lowercase Letters, Numbers, and Symbols
- Space (Alt 32) through ~ (Alt 126): Covers common characters, including letters (A-Z, a-z), numbers (0-9), and symbols like @, #, $, etc.
Currency Symbols and Spanish Characters
- ⌂ (Alt 127) to » (Alt 175): Includes various currency symbols (¢, £, ¥) and Spanish-specific characters like ñ and ¿.
ASCII Symbols for Command Line and Art
- ░ (Alt 176) to ▀ (Alt 223): A variety of ASCII symbols useful for creating interfaces or ASCII art.
Mathematical Symbols and Non-English Characters
- α (Alt 224) to √ (Alt 251): Contains Greek letters and mathematical symbols, along with various typographic symbols.
Additional Characters
- € (Alt 128) and various punctuation marks and special typographical symbols (like “ and ”) that enhance text formatting and presentation.
Usage
To use an Alt code:
- Hold down the Alt key.
- Type the code using the numeric keypad (not the numbers at the top of the keyboard).
- Release the Alt key, and the corresponding character will appear.
Effective Tips for Utilizing Alt Key Shortcuts
- When using Alt key shortcuts, keep in mind that these shortcuts can differ based on your keyboard layout. It’s important to verify which codes correspond to your specific setup.
- Note that not all characters are accessible through Alt key shortcuts. In such cases, you may need to utilize tools like Character Map or similar applications to insert those special characters.
- Regular practice is essential! The more frequently you use these shortcuts, the easier they will become to remember and apply seamlessly.
Conclusion
Incorporating special characters and symbols into your text adds a touch of personality and creativity to your written communications. By mastering Alt key shortcuts on your Windows keyboard, you can effortlessly enhance your documents, emails, and social media posts with unique characters and symbols. So the next time you want to elevate your text, don’t hesitate to try out these Alt key shortcuts.

Having trouble getting rid of that extra page in your Word document? It can be frustrating when you just can’t seem to make it disappear, but don’t worry, this guide is here to help. Deleting those blank or extra pages doesn’t have to be a hassle, and with a few easy steps, your document will look clean and professional in no time.
How to Delete Blank Pages
You might find a blank page lurking at the end of your document, especially when printing or sharing it. Here’s a simple way to get rid of it:
- Scroll to the blank page.
- Click at the very top of the page to place your cursor.
- Press the Delete key, and that empty page should disappear.
How to Remove Extra Pages
Extra pages that sneak into your document can make it feel cluttered and disorganized. Here’s how you can clean it up:
- Navigate to the page you want to delete.
- Click at the top of the page.
- Delete any content on the page.
- If the page doesn’t go away, you may need to adjust the formatting a bit to tidy things up.
Additional Tips if You’re Stuck
- Sometimes the issue isn’t as obvious as it seems. There could be hidden formatting or text that’s keeping the page around. Try turning on Show/Hide ¶ (located in the Home tab) to reveal any hidden elements.
- Double-check to make sure you’ve removed everything on the page. Even a stray space or invisible formatting can cause an extra page to stick around.
Final Thoughts
Getting rid of extra or blank pages in Word might seem like a small detail, but it can make a big difference in how your document looks. With these simple steps, you’ll have a polished, professional document that’s ready to share. So, say goodbye to those annoying extra pages, and keep your work looking clean and organized!

Pokémon GO Hack Guide: How to Join Mega Mewtwo Y Raids Without Traveling

How to Change GPS Location on iPhone Without Jailbreak

MetaTrader 4 or 5: Which Trading Platform Is Right for You?

Why Modern Web Applications Are Moving Beyond Basic Dashboards
YouTube Offline: What Is It, and How to Save and Watch a Video Offline?

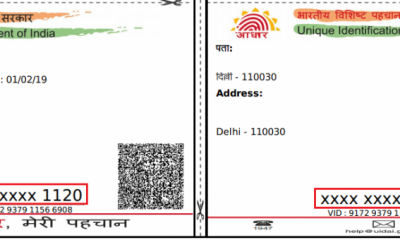
How to Download a Copy of Your Aadhaar Card

How to Book an Ola or Uber Using Google Maps

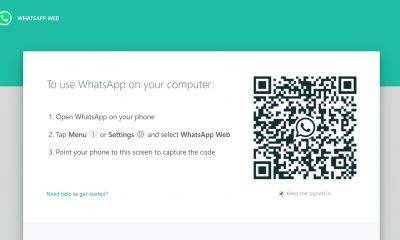
WhatsApp Web: Everything You Need to Know

The Surge of Mobile Betting Apps in India

In-depth Review of Parimatch: A Top Choice for Indian Punters
-
 Internet6 years ago
How to Download a Copy of Your Aadhaar Card
-
 Apps6 years ago
How to Book an Ola or Uber Using Google Maps
-
 How to6 years ago
WhatsApp Web: Everything You Need to Know
-
 Betting2 years ago
The Surge of Mobile Betting Apps in India
-
 Casino2 years ago
In-depth Review of Parimatch: A Top Choice for Indian Punters
-

 Apps6 years ago
How to Install WhatsApp Beta for Windows Mobile or Windows Phone
-
Sports4 years ago
10Cric India Bookmaker Review for Betting on Sports Online in 2022
-
Android Games6 years ago
LDPlayer vs Nox Player: Powerful Android Emulator for Gaming